Appendix
If you want to add additional content to your presentation, you can use the appendix function. This function allows you to create an appendix section in your presentation, which can be used to include supplementary information, references, or any other content that is not part of the main presentation.
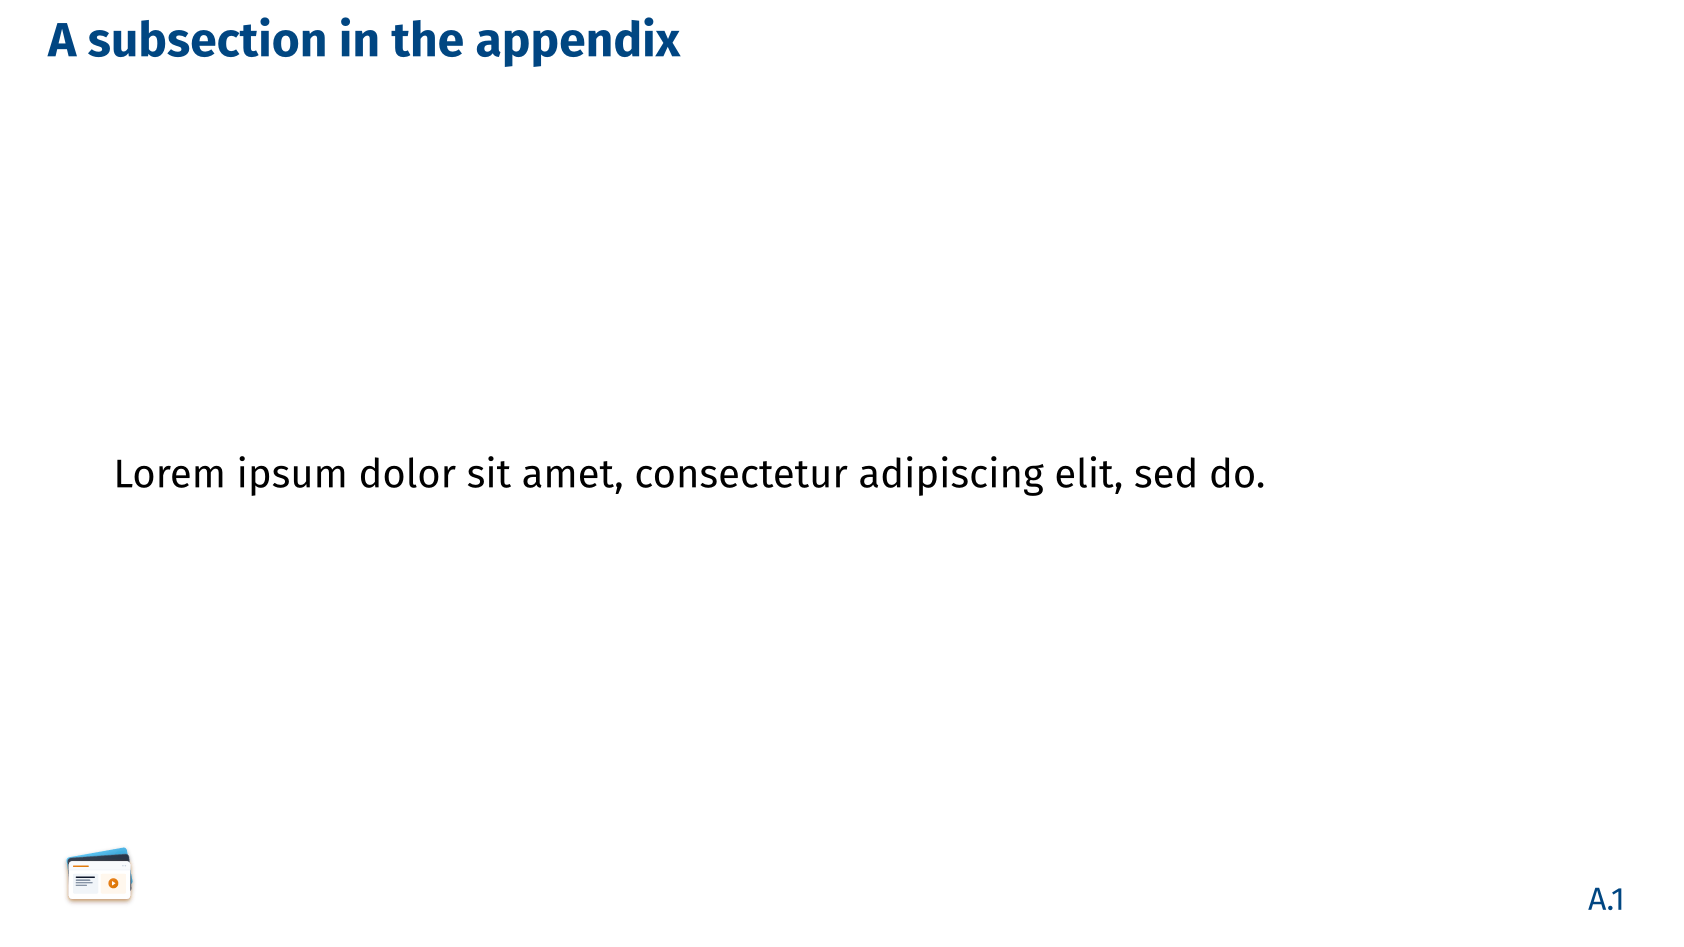
For the built-in themes, the appendix slides are automatically numbered with a prefix “A.” to distinguish them from the main slides. For example, the first appendix slide will be numbered as “A.1”, the second as “A.2”, and so on.
Appendix declaration
To include an appendix in your presentation, you can use the appendix function as follows:
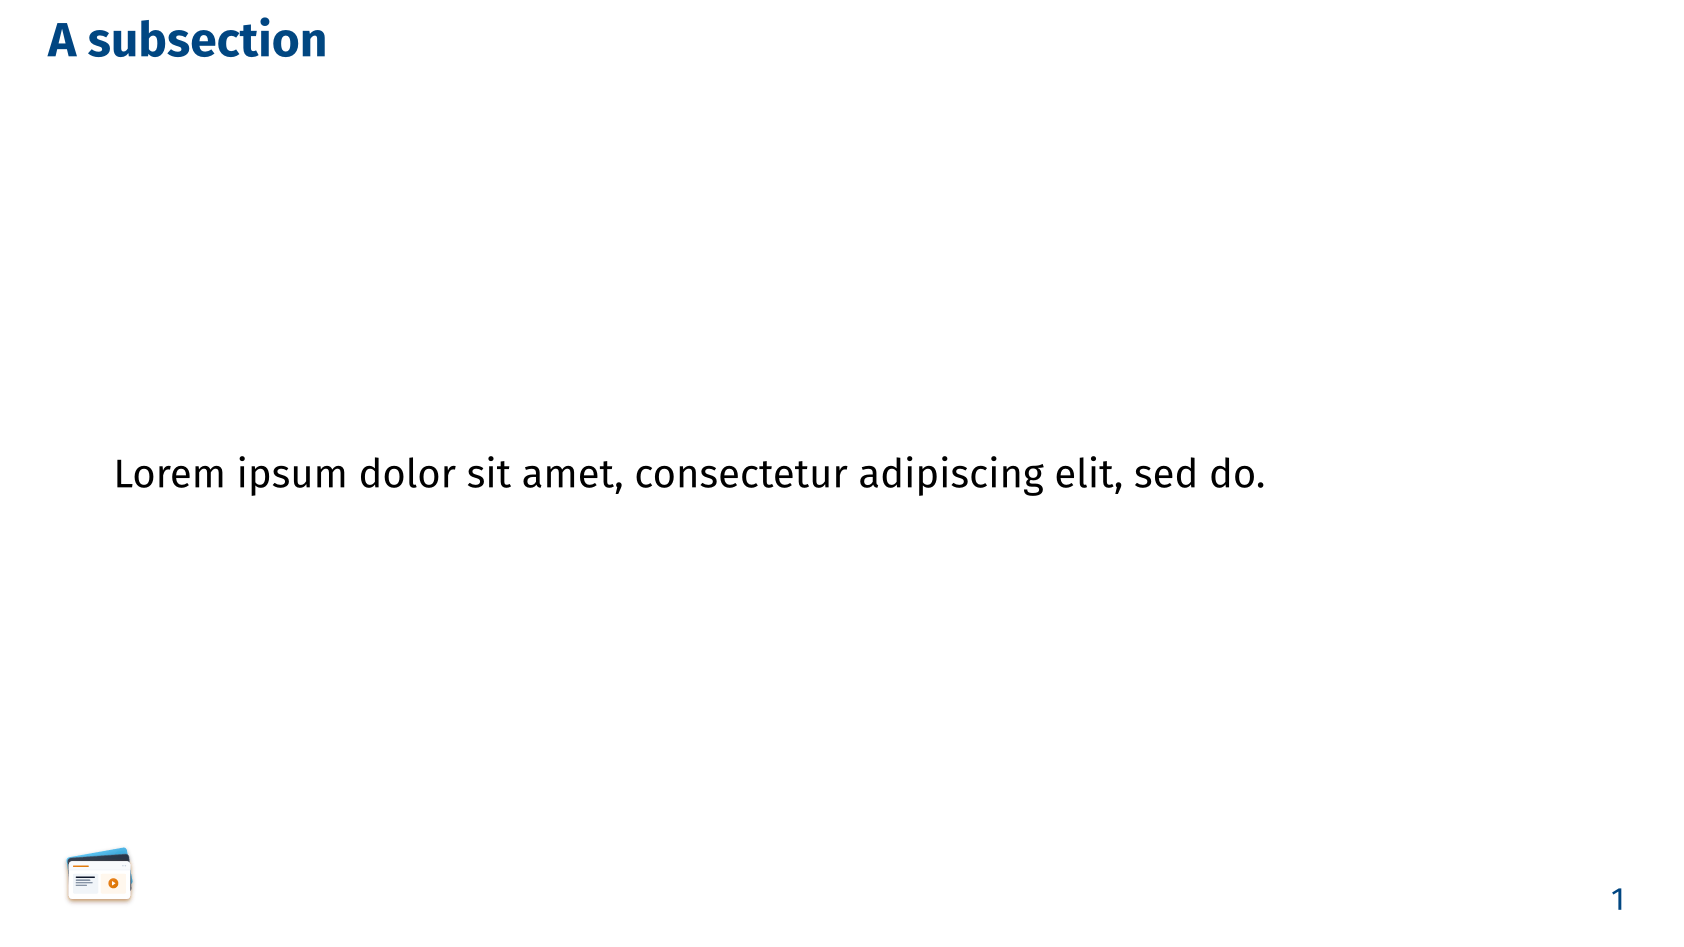
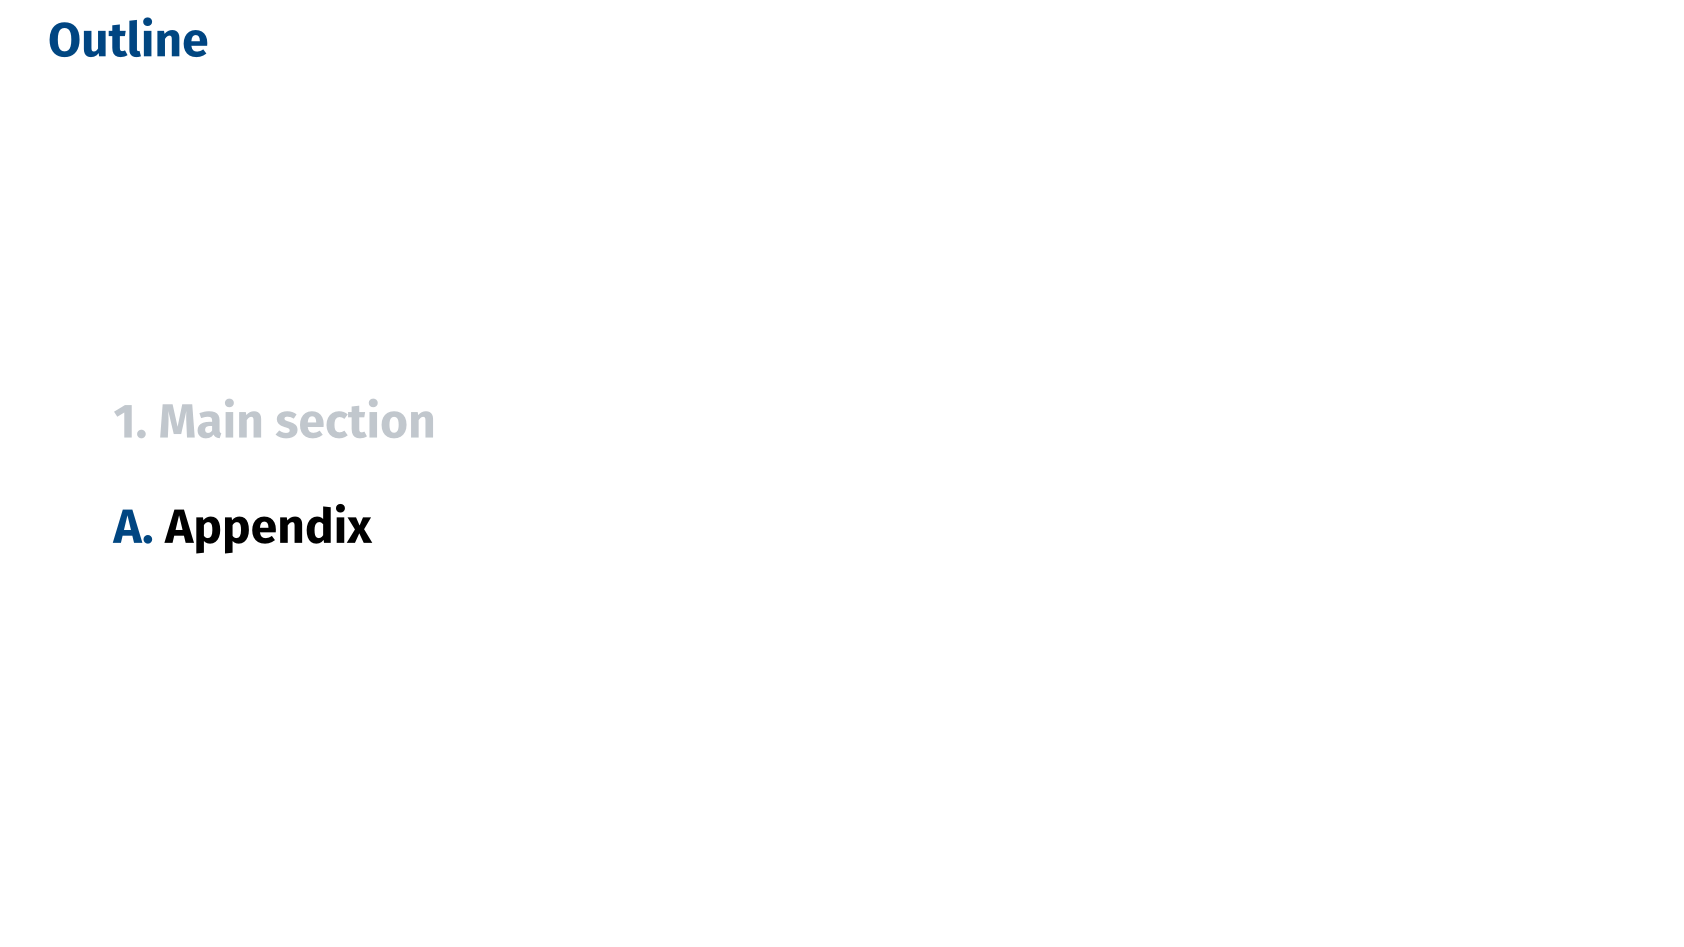
#show: appendixPractically, a presentation including an appendix looks like this:
#import "@preview/slydekit:0.1.0": *
#show: slydekit.with(...)
= Main section
== A subsection
#lorem(10)
#show: appendix
= Appendix
== A subsection in the appendix
#lorem(10)Outline/Navigation styles
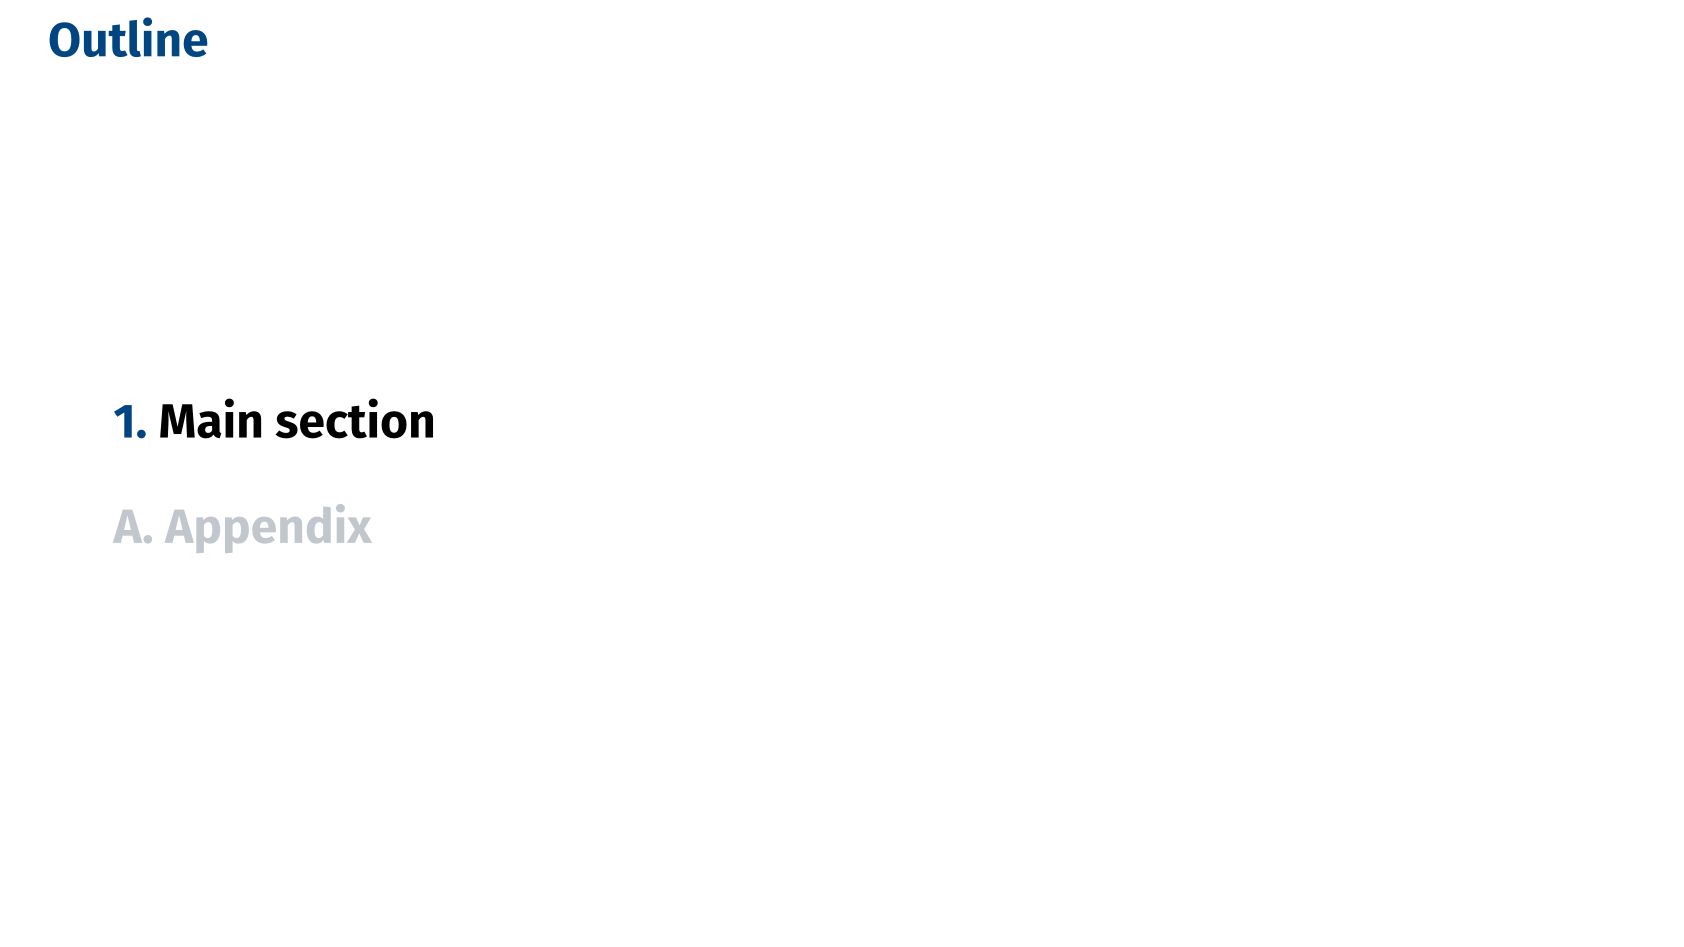
For the built-in themes, the appendix slides are automatically excluded from the minislide navigation style. Similarly, when the label hide-toc is used in the appendix declaration, the appendix slides are excluded from the main outlines built by tableofcontents and progressive-outline and a separate outline is created for the appendix slides. This allows you to keep the main presentation structure separate from the appendix content, while still providing a clear overview of the entire presentation.
Without hide-toc
#import "@preview/slydekit:0.1.0": *
#show: slydekit.with(...)
#tableofcontents
= First section
== A subsection
#lorem(10)
= Second section
== Another subsection
#lorem(10)
#show: appendix
= Appendix
== A subsection in the appendix
#lorem(10)With hide-toc
#import "@preview/slydekit:0.1.0": *
#show: slydekit.with(...)
#tableofcontents
= First section
== A subsection
#lorem(10)
= Second section
== Another subsection
#lorem(10)
#show: appendix
= Appendix <hide-toc>
== A subsection in the appendix
#lorem(10)