Getting started
This section introduces the basic workflow for creating presentations with Slydekit. You will first learn how to import the template and configure the main presentation settings. Then, a minimal example will demonstrate the core structure of a Slydekit document, including how to create slides and organize content.
Import the template
To use the slydekit template, you need to include the following line at the beginning of your typ file:
#import "@preview/slydekit:0.5.0": *Template initialization
After importing the template, you have to initialize the template by a show rule with the #slydekit command. This function takes a set of optional arguments that allow you to customize the presentation’s appearance and behavior.
#let slydekit(
  title: "Title",
  subtitle: "Subtitle",
  short-title: "Short title",
  author: "Author",
  date: "Date",
  institution: "Institution",
  contact: none,
  theme: simple,
  fonts: (:),
  colors: (:),
  lang: "en",
  aspect-ratio: "16-9",
  navigation-style: "topbar",
  title-logo: (),
  slide-logo: none,
  section-numbering: false,
  numbering-pattern: (:),
  frozen-counters: (),
  slide-level: 2,
  slide-align: horizon,
  extra-info: (:),
  activate-parser: true,
  handout: false,
)title – default: noneMain title of the presentation
subtitle – default: noneOptional subtitle for the presentation
short-title – default: noneShorter version of the title for use in headers or footers
author – default: noneName of the author(s) or presenter(s)
date – default: noneDate of the presentation
institution – default: noneName of the institution or organization associated with the presentation
contact – default: noneContact information for the author(s) or presenter(s), such as an email address or website (optional)
theme – default: simpleThe theme to be used for the presentation. Available themes include simple, fancy, metropolis, cambfurt, and chalkboard. You can also create your own custom theme by defining a new theme in your Typst document.
fonts – default: (:)Custom fonts to be used in the presentation. You can specify a set of fonts to override the default fonts provided by the selected theme. If not specified, the theme’s default fonts will be used.
The dictionary should have the following structure:
#let fonts = (
  size: "Size for body text",
  body: "Font Name for body text",
  math: "Font Name for math text",
  raw: "Font Name for raw text",
)colors – default: (:)Custom colors to be used in the presentation. You can specify a set of colors to override the default colors provided by the selected theme. If not specified, the theme’s default colors will be used.
The dictionary should have the following structure:
#let colors = (
  primary: "Primary color for the presentation",
  secondary: "Secondary color for the presentation",
  background: "Background color for the slides",
  header: "Color for headers and titles",
  footer: "Color for footer text",
)lang – default: “en”Language of the presentation. This can be set to any valid language code (e.g., "en" for English, "fr" for French, etc.). The language setting affects the localization of certain elements in the presentation, such as the table of contents and navigation labels.
Available languages include:
"en": English"fr": French"es": Spanish"de": German"it": Italian"zh": Chinese"pt": Portuguese
aspect-ratio – default: “16-9”Aspect ratio of the slides. Common values include “16-9” for widescreen presentations and “4-3” for standard presentations. This setting determines the dimensions of the slides and how they will be displayed on different screens and devices.
navigation-style – default: “topbar”Navigation style for the presentation. Available options include “topbar” for a top navigation bar, “minislide” for a mini slide navigation, and other custom navigation styles that can be defined in your Typst document. This setting affects how users can navigate through the slides during the presentation.
title-logo – default: ()Logo to be displayed on the title slide. You can provide an image file (e.g., PNG, SVG) to be displayed alongside the title and subtitle on the first slide of the presentation.
The array can contain one or more images. For example, if you need to display two logos on the title slide, the array can be defined as follows:
title-logo: (image("logo1.svg", height: 2.5cm), image("logo2.svg", height: 2.5cm))slide-logo – default: noneLogo to be displayed on each slide. You can provide an image file (e.g., PNG, SVG) to be displayed in a consistent location on every slide of the presentation. This is useful for branding or to include a small logo throughout the presentation.
section-numbering – default: falseWhether to enable section numbering in the presentation. If set to true, each section and slides titles will be automatically numbered given the numbering-pattern. If set to false, sections will not be numbered.
numbering-pattern – default: (:)Custom numbering format for sections and appendices. You can specify a set of numbering formats to override the default numbering provided by the selected theme. If not specified, the theme’s default numbering (i.e. "1.1." for normal sections and "A.1." for appendix sections) will be used.
The dictionary should have the following structure:
#let numbering = (
  section: "Numbering format for sections",
  appendix: "Numbering format for appendices",
)frozen-counters – default: ()List of counters that should be frozen and not incremented during the presentation. This is useful for maintaining consistent numbering across slides, especially when using animations or overlays that may cause counters to increment unexpectedly. By specifying which counters to freeze, you can ensure that the numbering remains stable throughout the presentation.
By default, the following counters are frozen: slide-number, app-slide-number, section-number, and appendix-number. You can add additional counters to this list as needed.
slide-level – default: 2The heading level at which new slides are created. Headings at this level will start a new slide, while headings above this level (lower numbers) will be treated as section headings.
In Slydekit, the slide-level argument determines how the document structure is interpreted.
For example, if slide-level is set to 2, then headings at level 1 will be treated as sections, and headings at level 2 will be treated as slides. When slide-level is greater than 2, headings at level slide-level will be treated as slides, and headings at level slide-level - 1 will be treated as sections. Headings at levels lower than slide-level - 1 will be treated as structure headings that help to organize the content but do not create new slides.
slide-align – default: horizonAlignment of the slide content. This setting determines how the content within each slide is positioned.
extra-info – default: (:)User defined dictionary for extra information to be displayed in custom themes.
activate-parser – default: trueWhether to activate the slide parser. If set to true, the slide parser will be used to process the document and create slides. If set to false, the document will be processed as a single block of text.
The slide parser is responsible for interpreting the document structure and creating slides based on the specified slide-level.
The main interest of deactivating the parser is to:
Improve compilation performance: The slide parser recursively traverses and destructures the entire document element tree to group content by slide. For very long or complex presentations, disabling the parser significantly speeds up rendering.
Switch to strict manual control (
#slide(...)): When the parser is active, Slydekit automatically transforms headings such as== Titleinto slides. Disabling the parser allows you to use only the explicit#slide("Title")[...]function without the engine attempting to split the content implicitly.Avoid complex nesting conflicts: If the document contains advanced structures (complex custom macros, functions that dynamically generate headings or styled elements), the automatic parser may misinterpret slide boundaries. Setting activate-parser to false provides predictable, unprocessed behavior.
Preserve standard Typst behavior: In this mode, Slydekit applies a simple show rule to convert headings into slides without altering the sequence of the underlying content.
handout – default: falseWhether to generate a handout version of the presentation. If set to true, the presentation will be formatted for printing or distribution as a handout, which may include additional notes or a different layout suitable for paper or PDF distribution. If set to false, the presentation will be formatted for on-screen viewing.
Basic usage
#import "@preview/slydekit:0.5.0": *

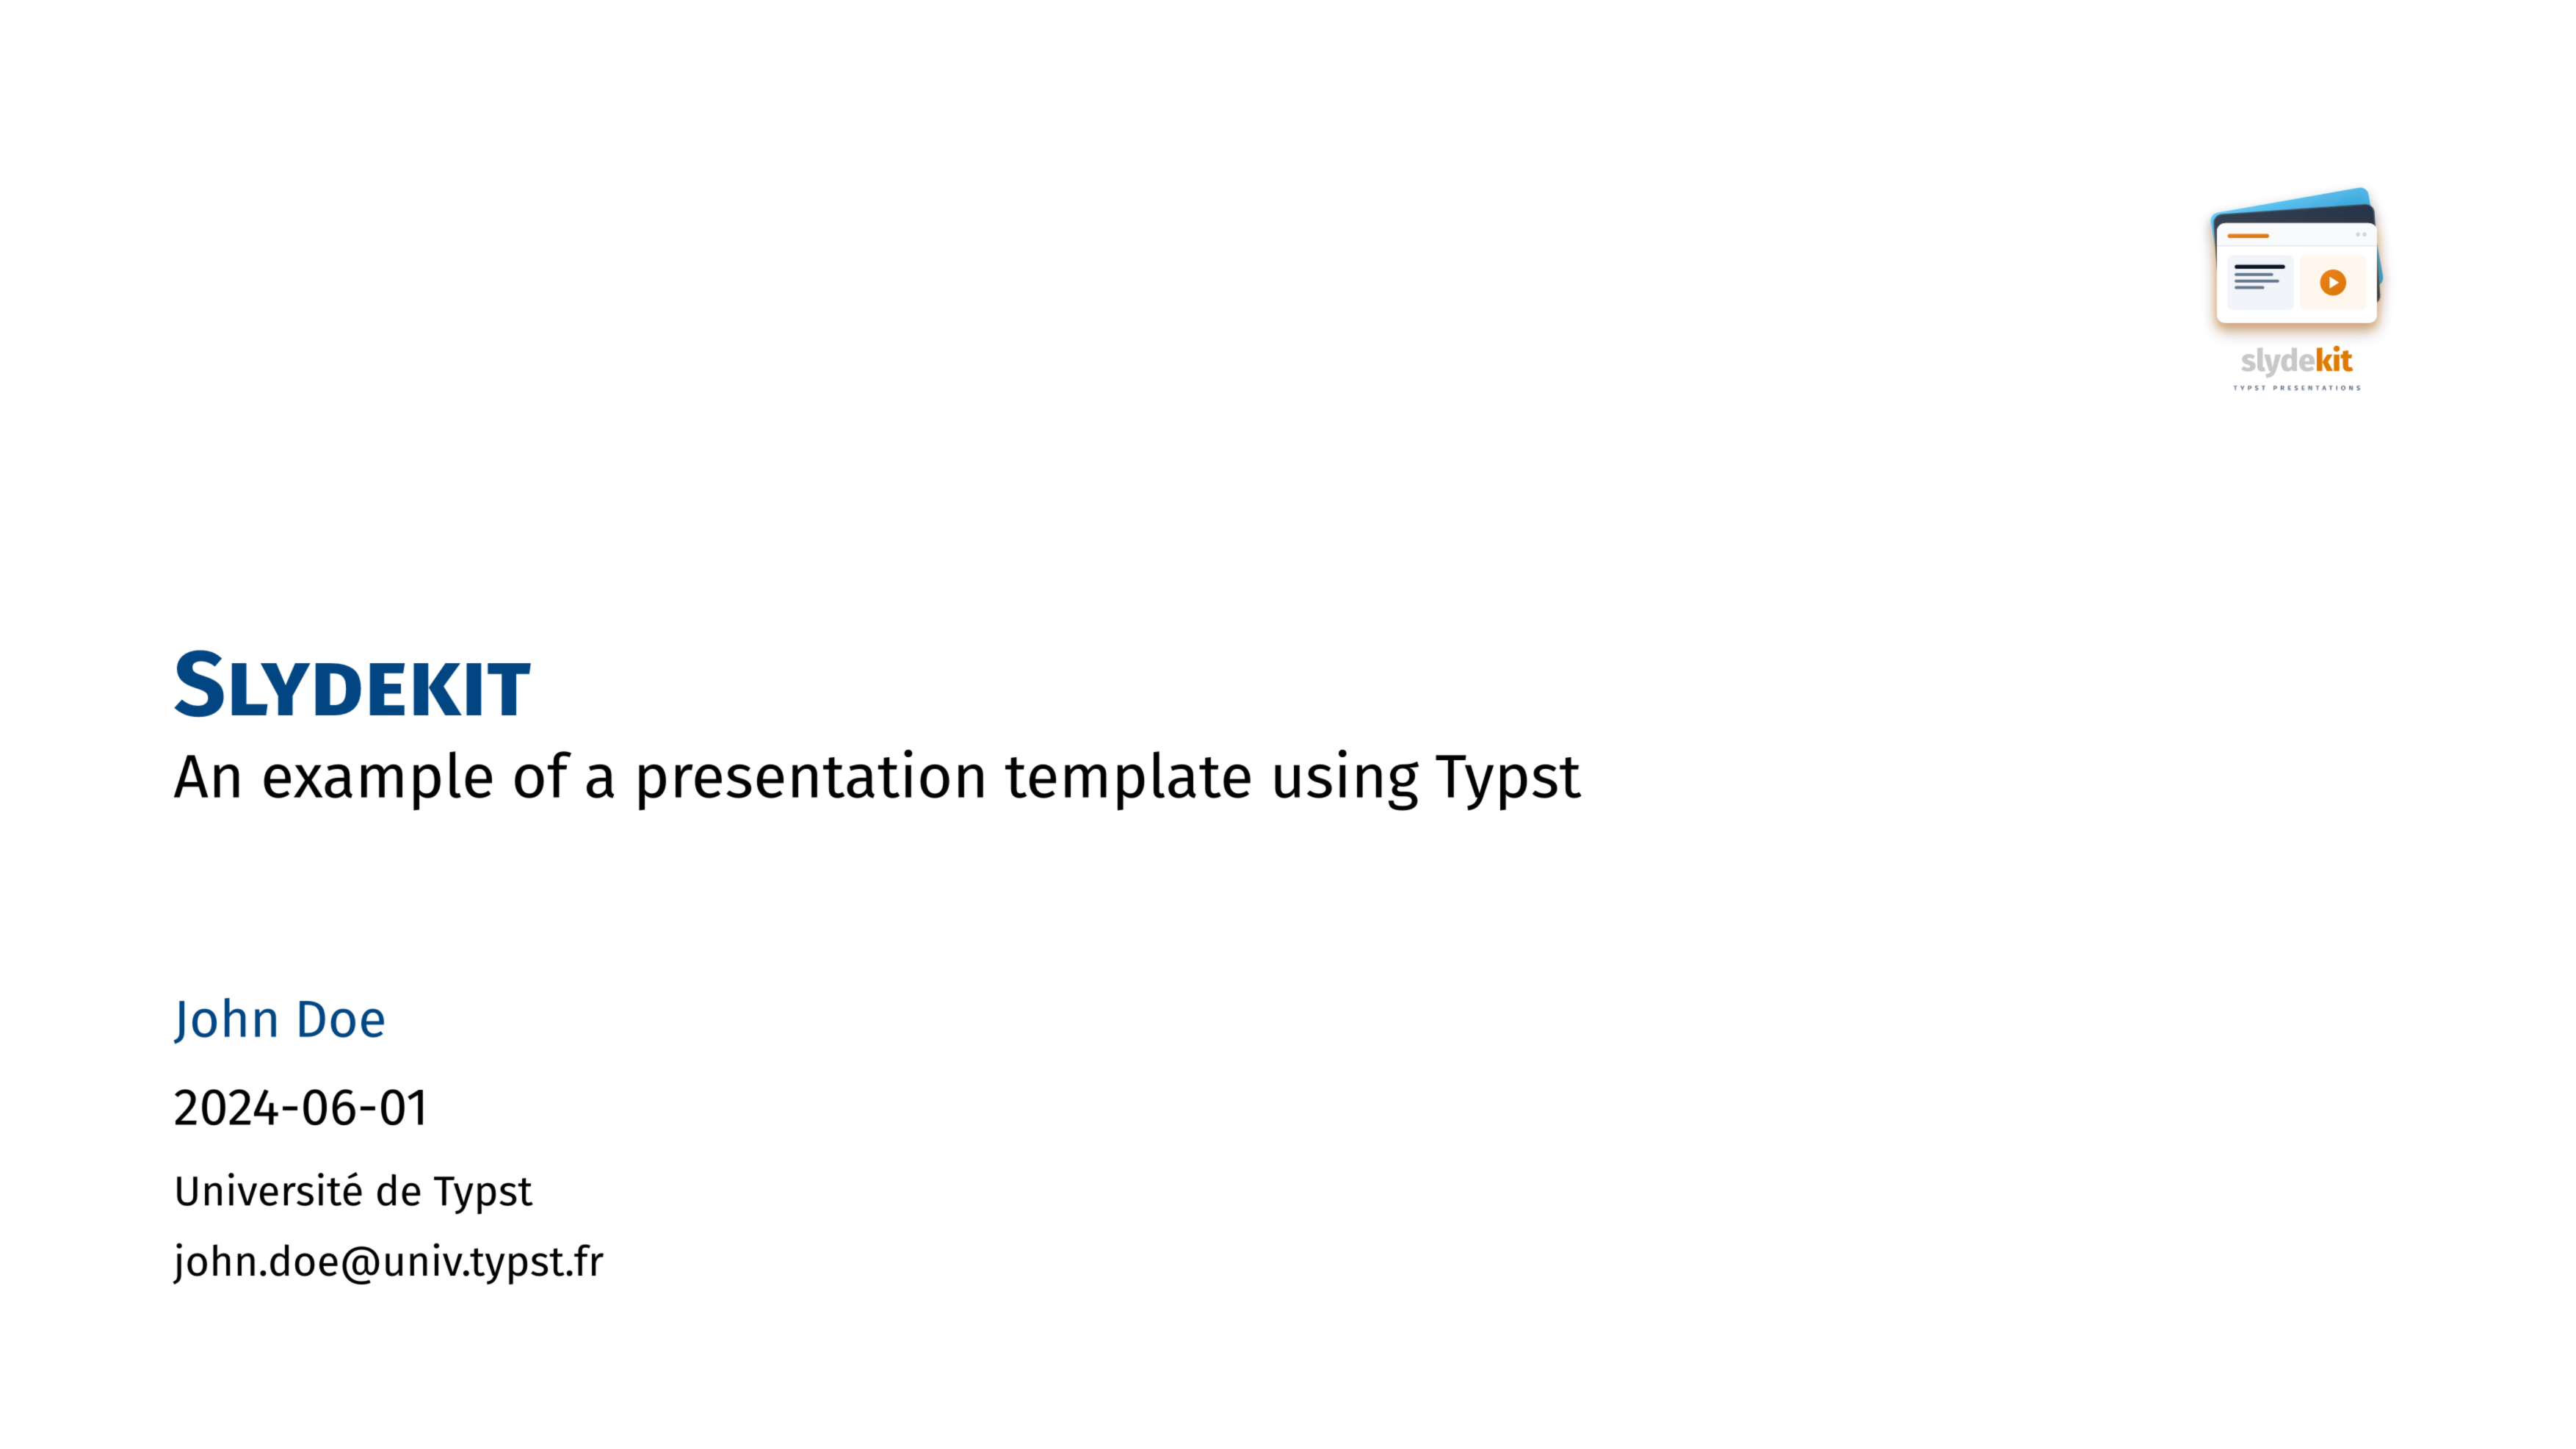
#show: slydekit.with(
  title: "Slydekit",
  subtitle: "An example of a presentation template using Typst",
  author: "John Doe",
  date: "2024-06-01",
  institution: "Université de Typst",
  contact: "john.doe@univ.typst.fr",
  title-logo: (image("slydekit-logo-full.svg", height: 2.5cm),),
  slide-logo: image("slydekit-logo-mini.svg", height: 1.25cm),
)

#title-slide

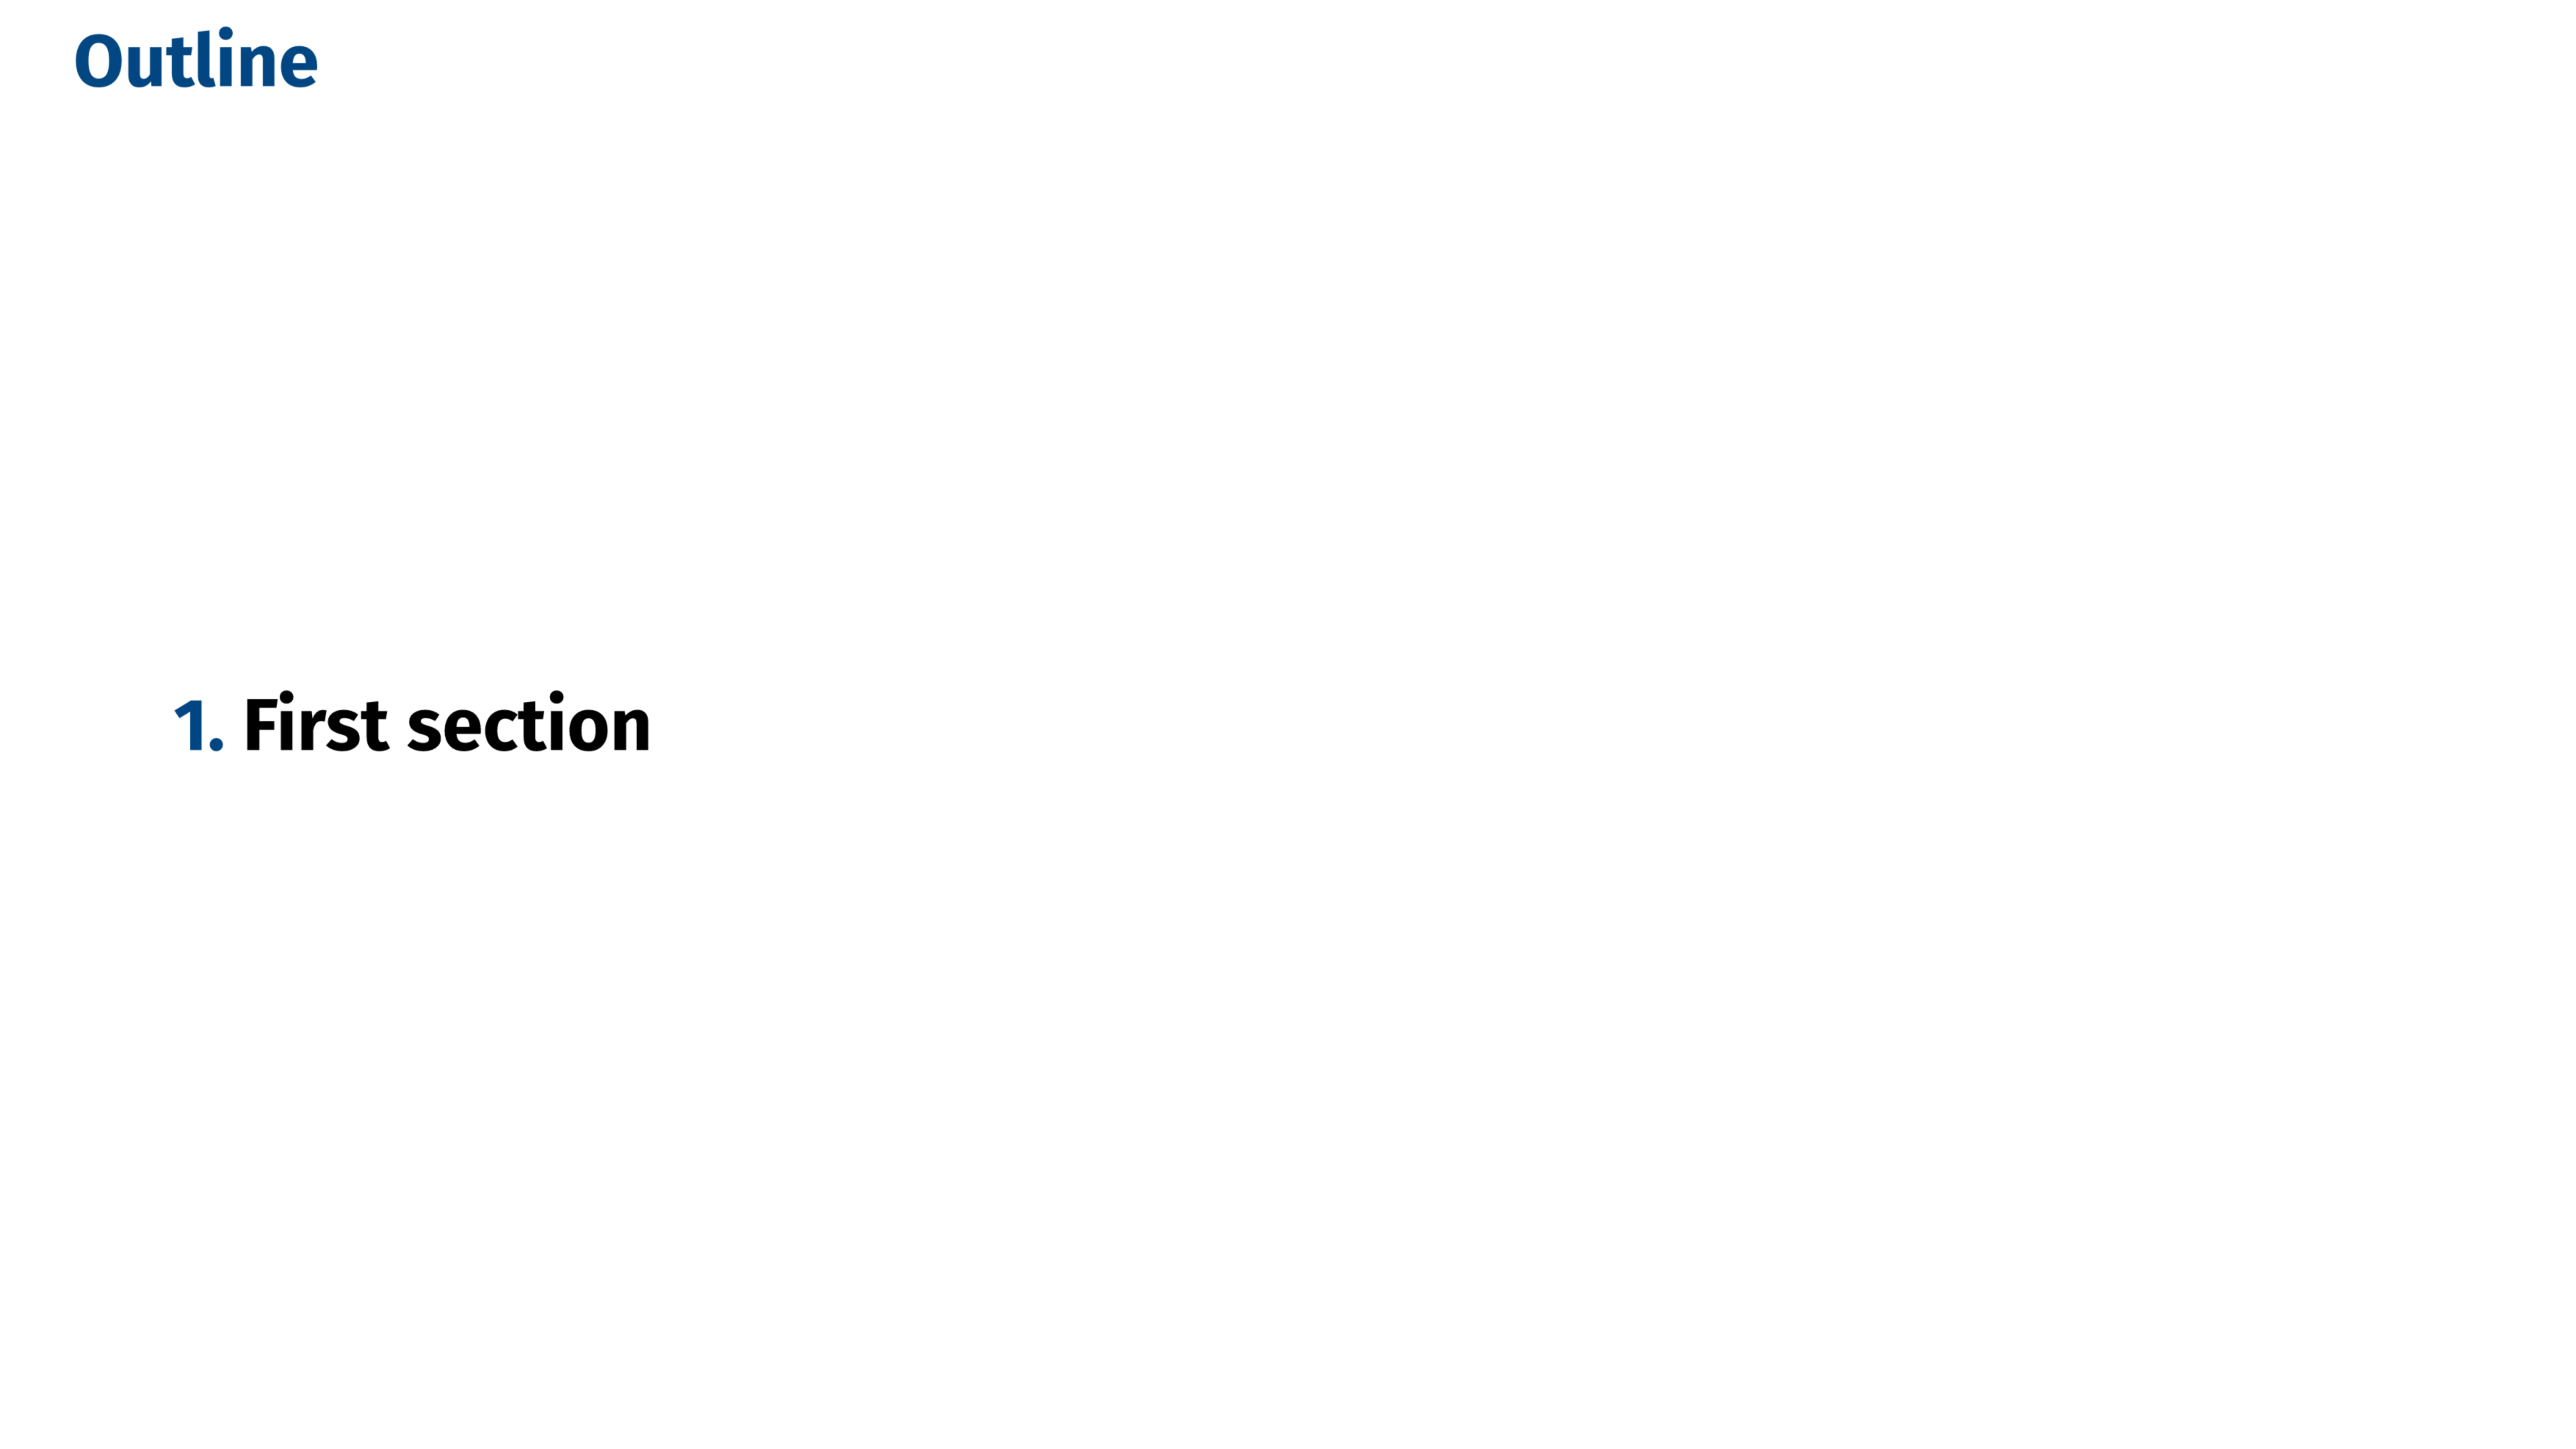
= First section

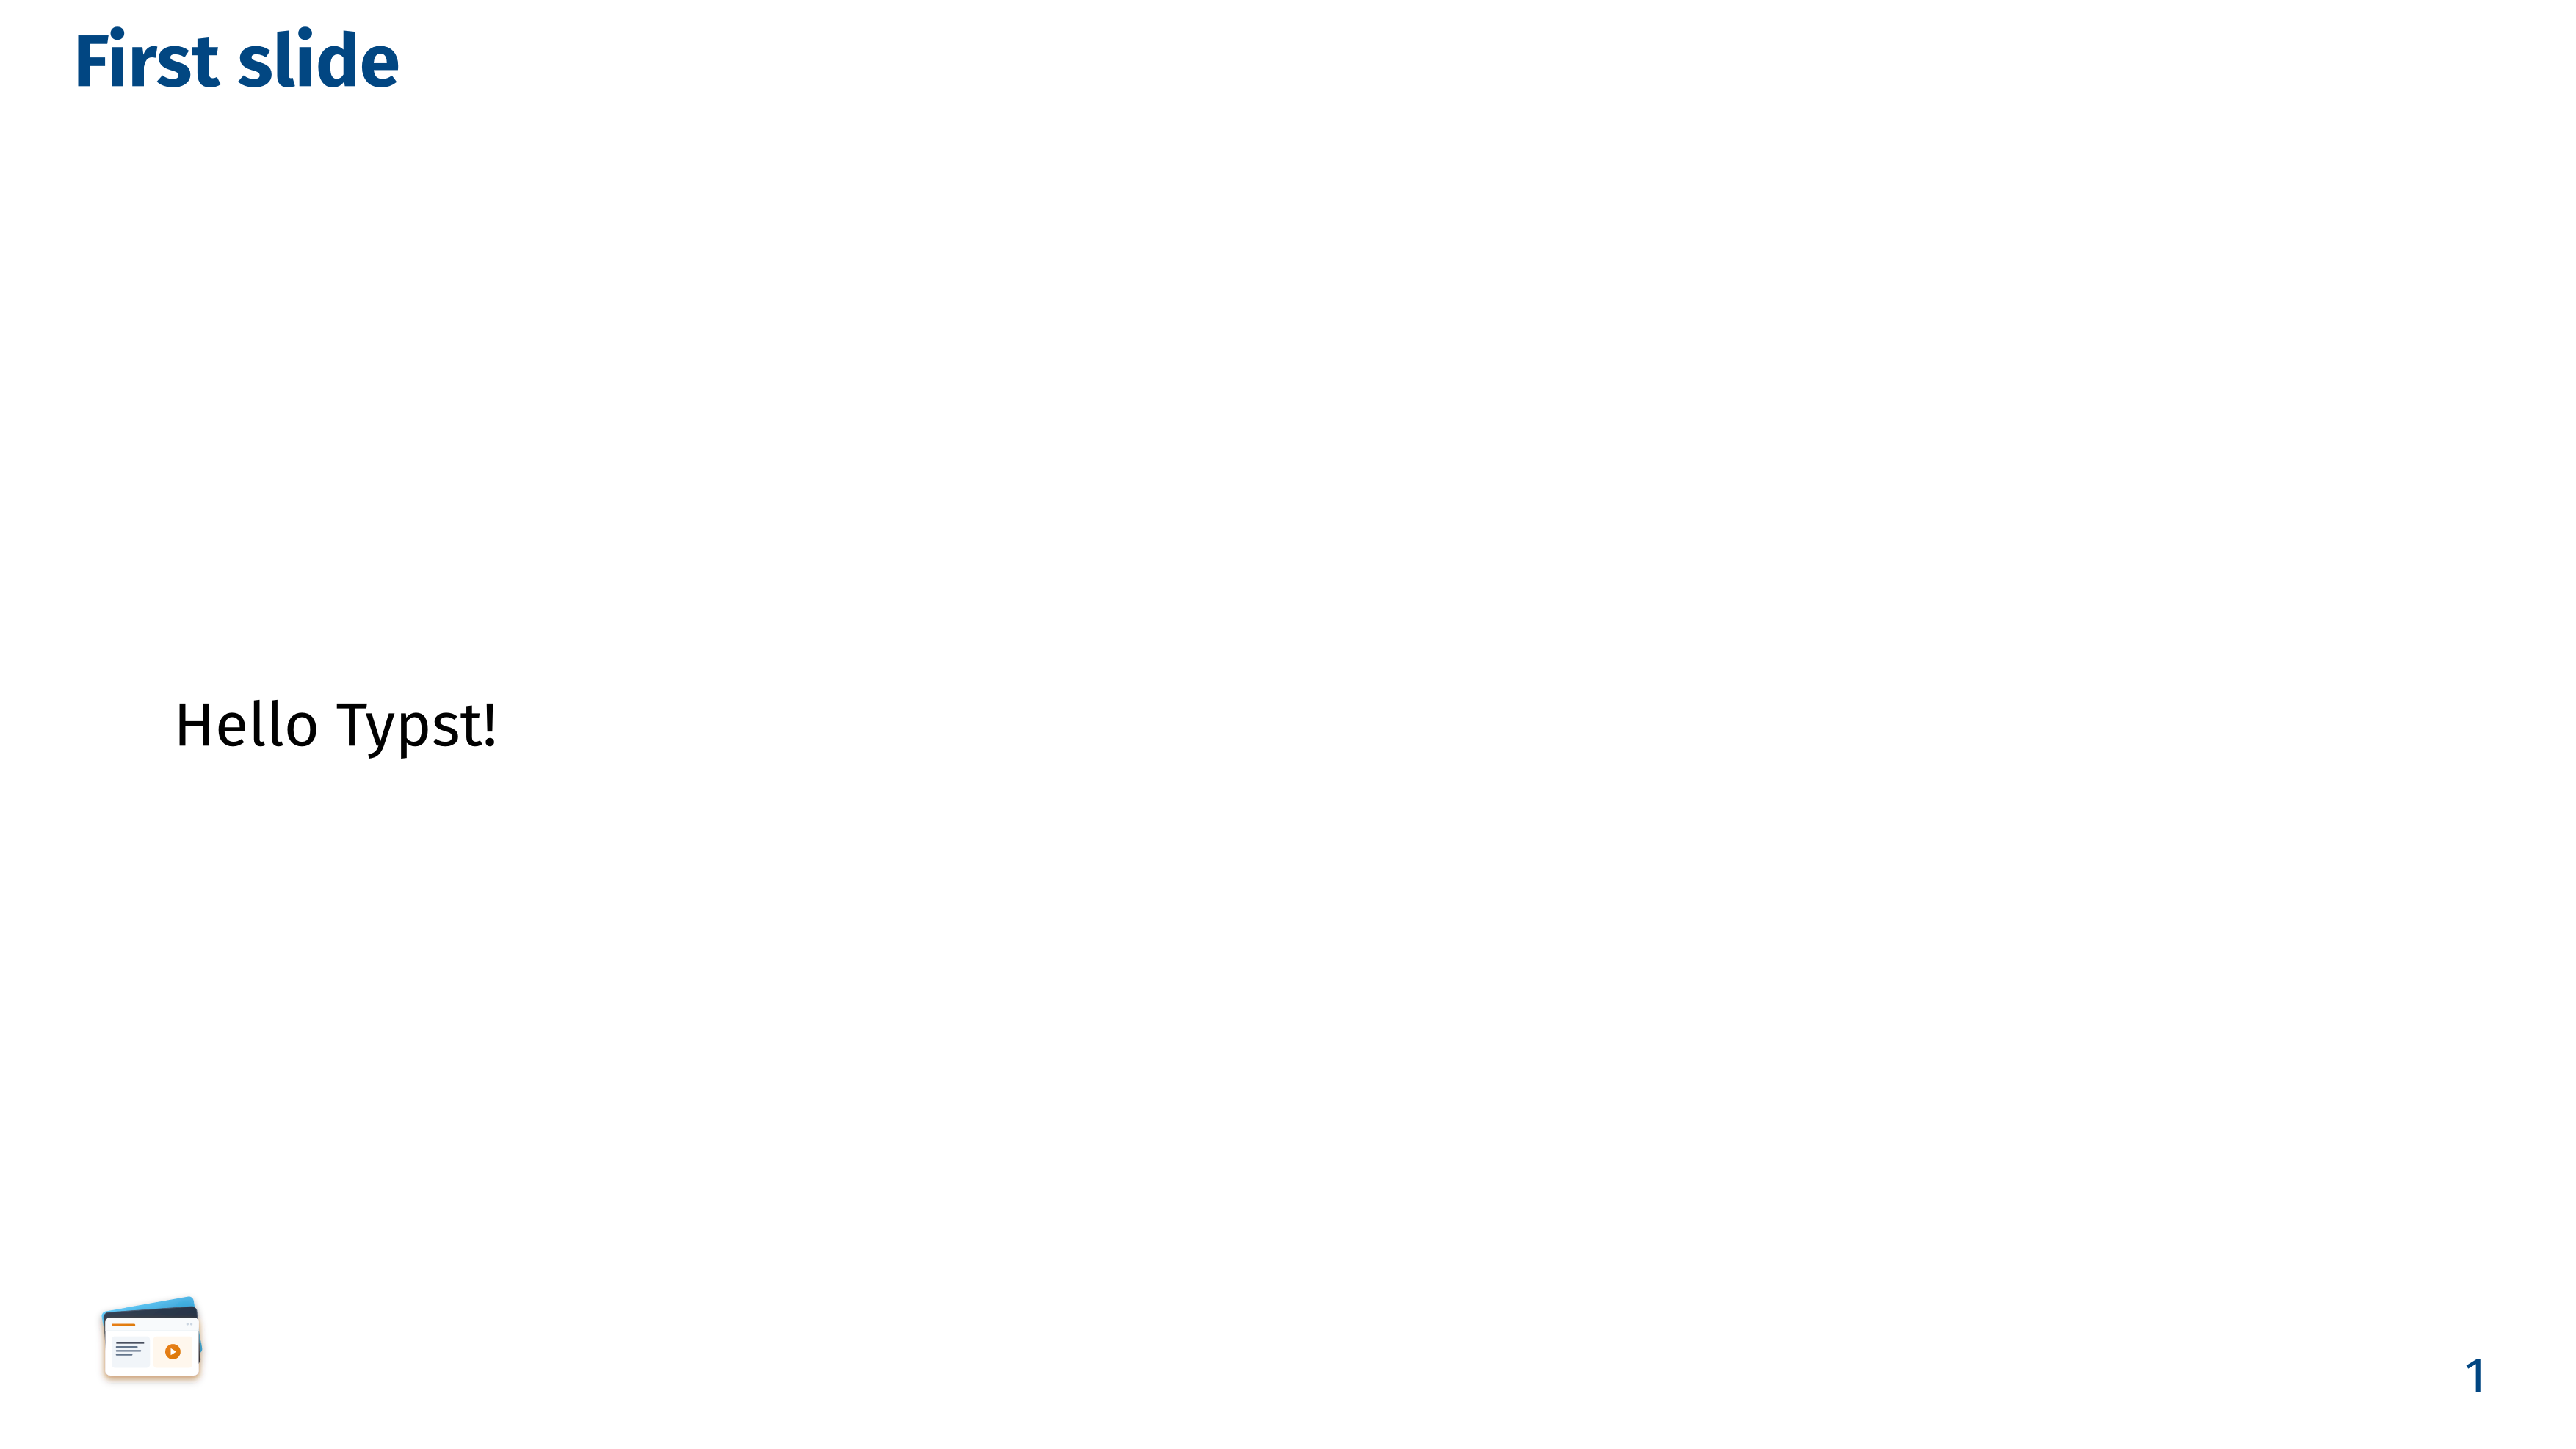
== First slide

Hello Typst!

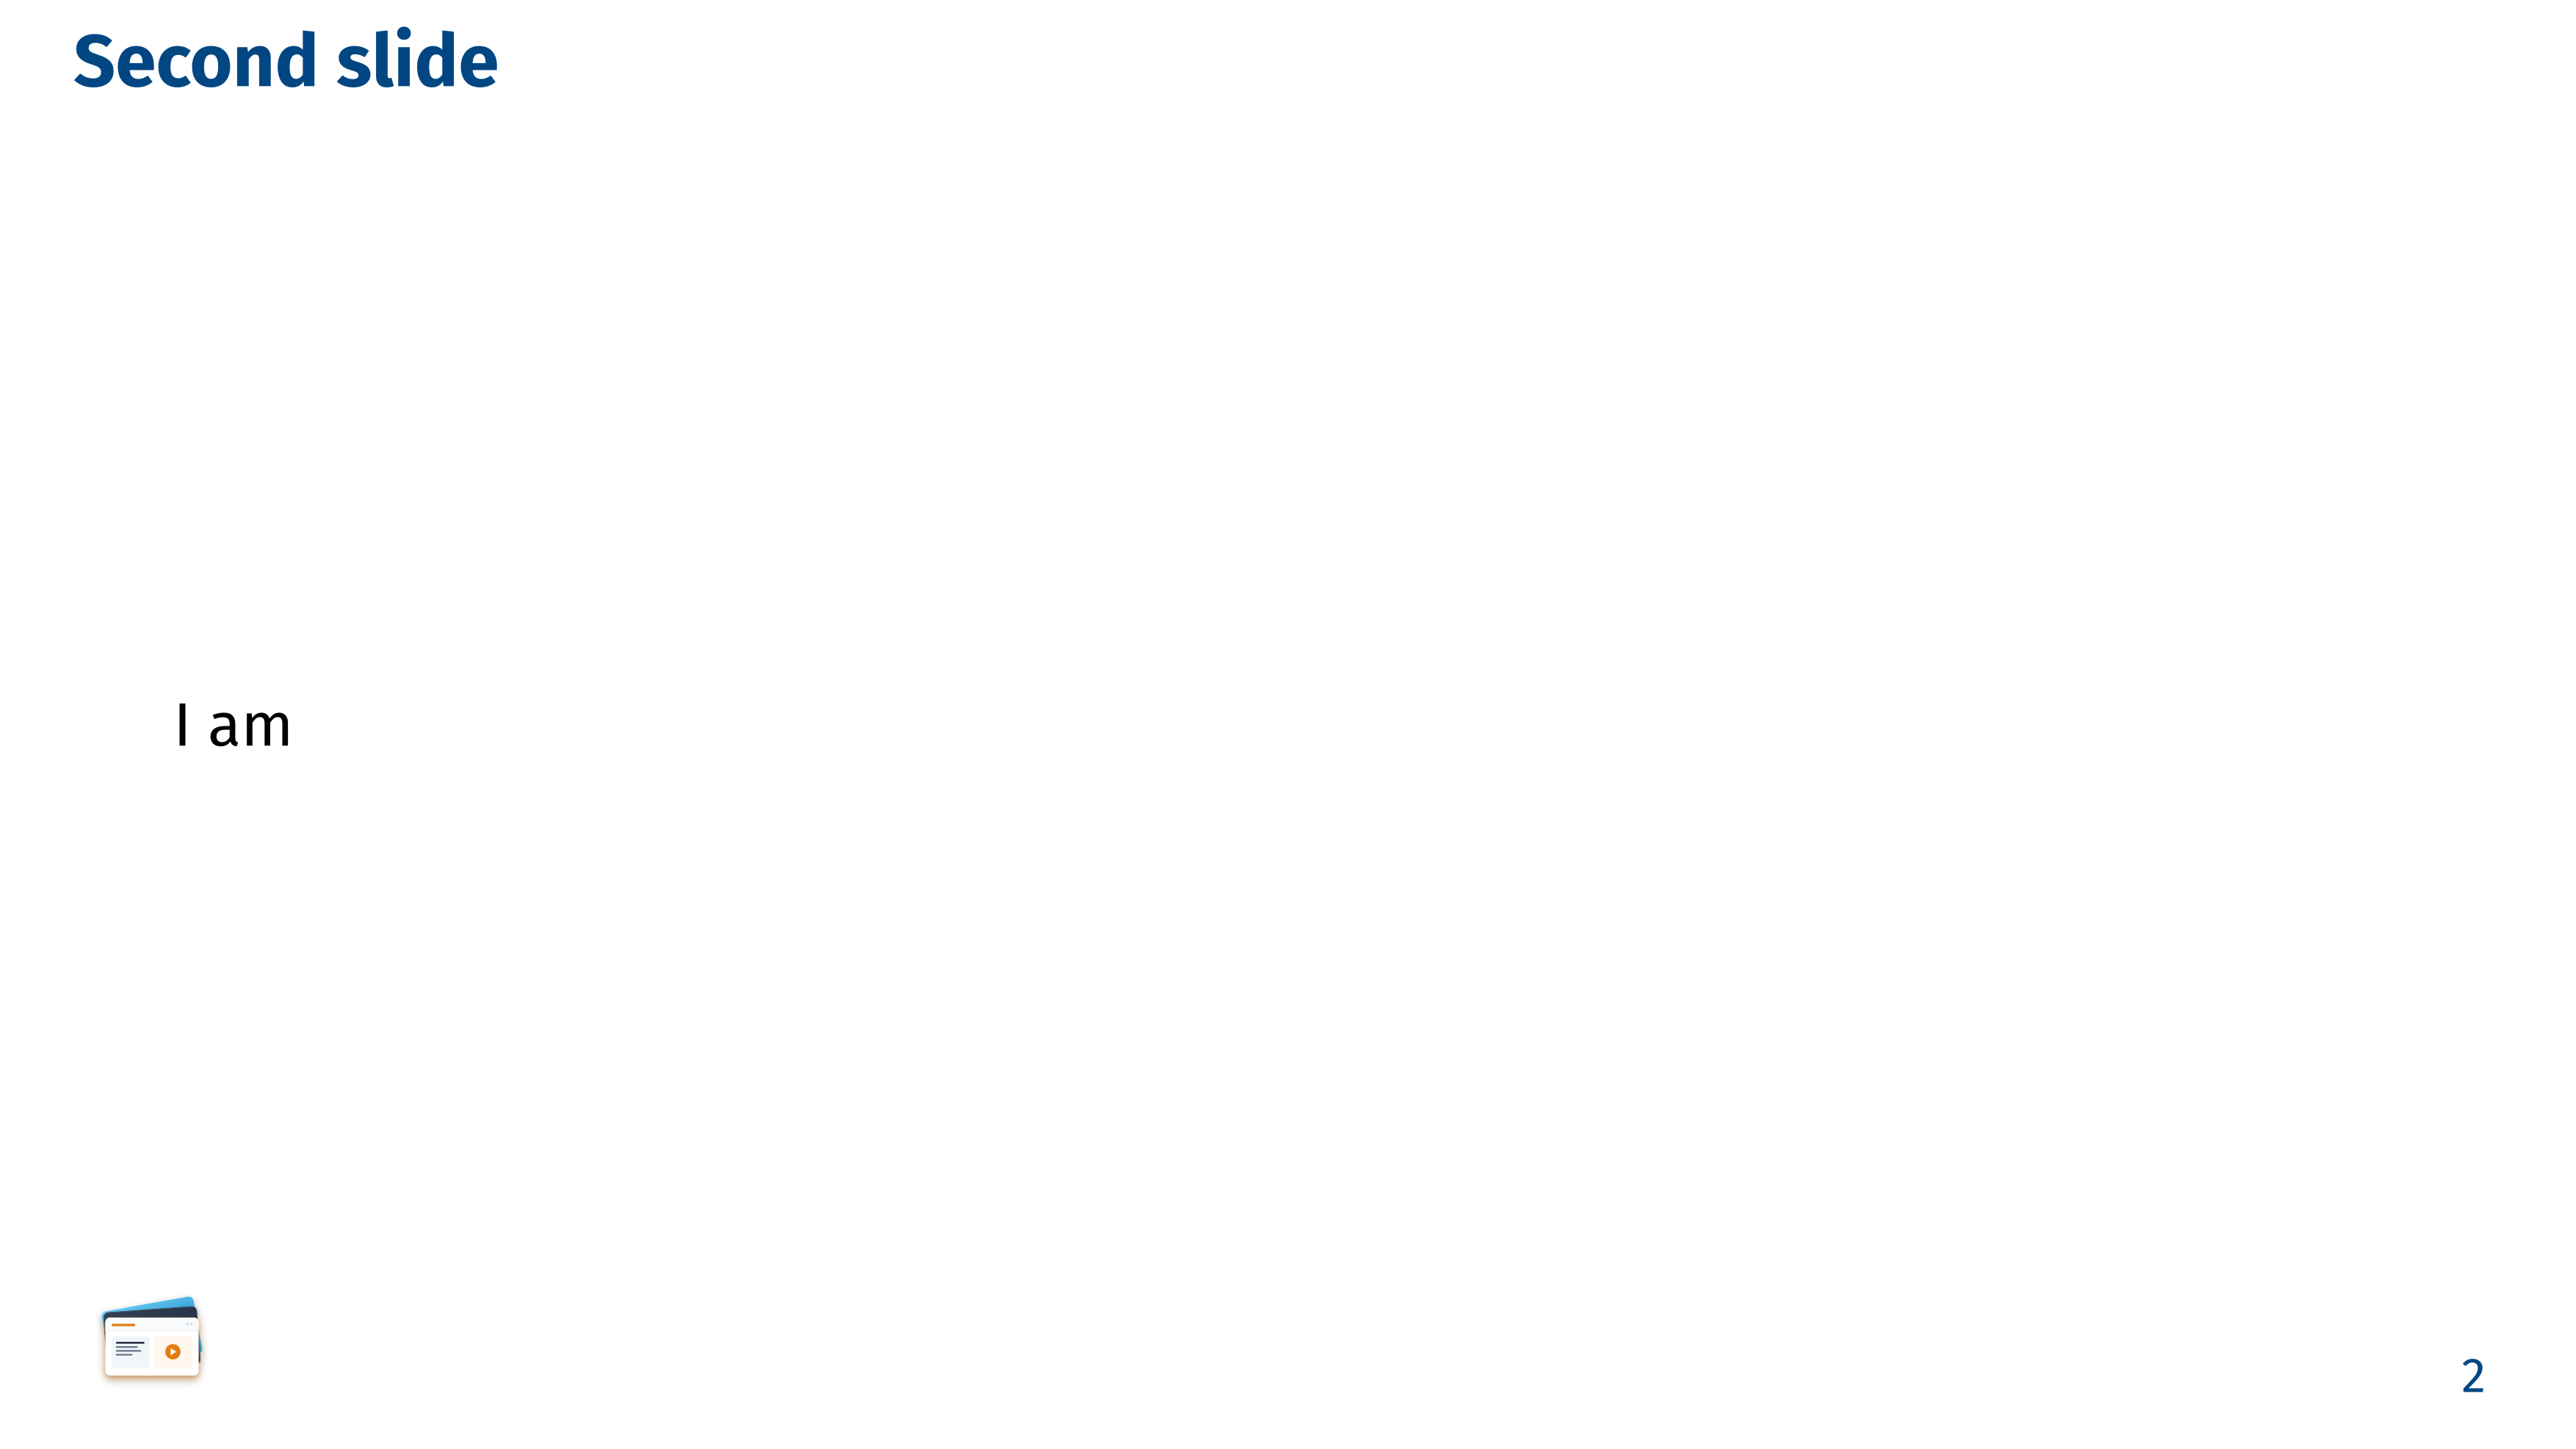
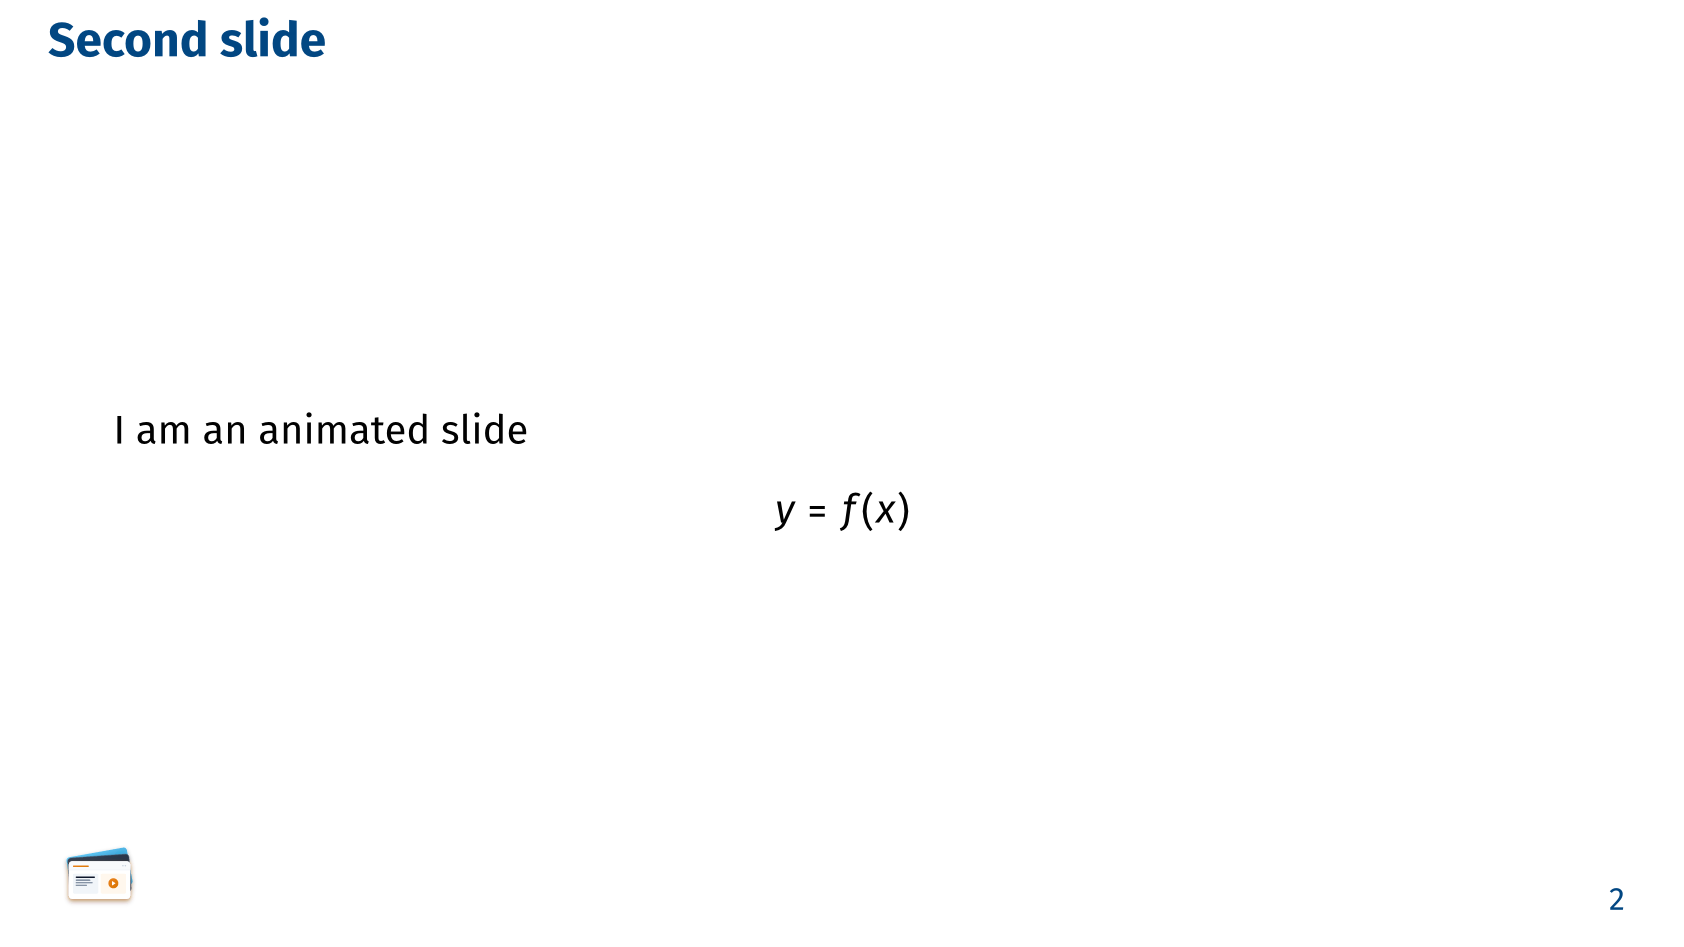
== Second slide

I am #pause an animated slide

$
  #uncover(2)[$y = f(x)$]
$